Create Admin Report v1
This article shows you how to create a property admin report in the LuxEstMgt web portal. Also known as the Red report 🔴. This report can only be seen by staff members. Property managers receive these reports based on their subscription settings.
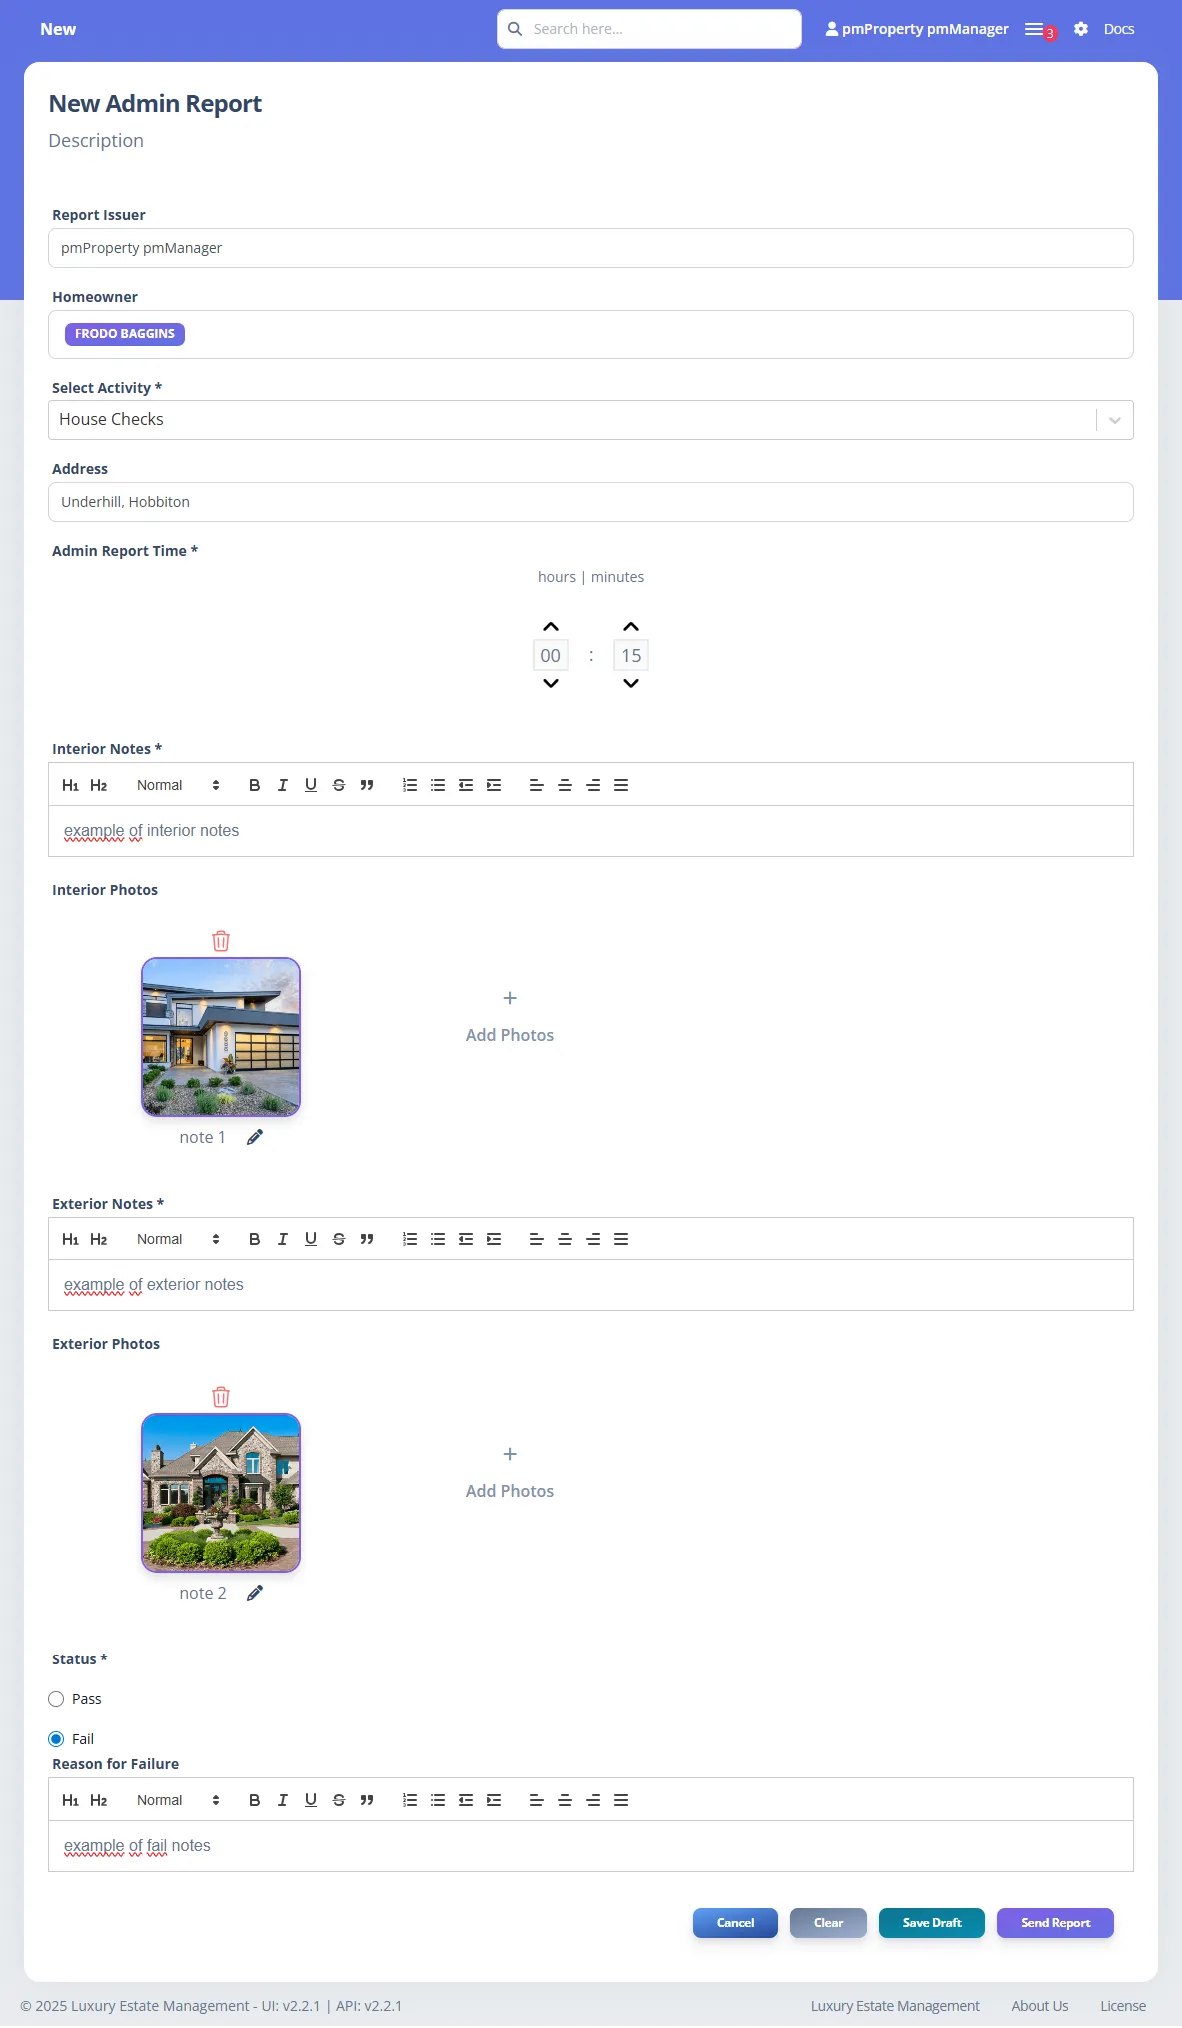
The New Admin Report is a comprehensive property management tool that allows staff members to document property visits, maintenance activities, and inspections. This report system ensures proper communication with property managers while maintaining detailed records of all property-related activities.
How to Fill Out the Admin Report
Section titled “How to Fill Out the Admin Report”Follow these steps to properly complete and submit the admin report:
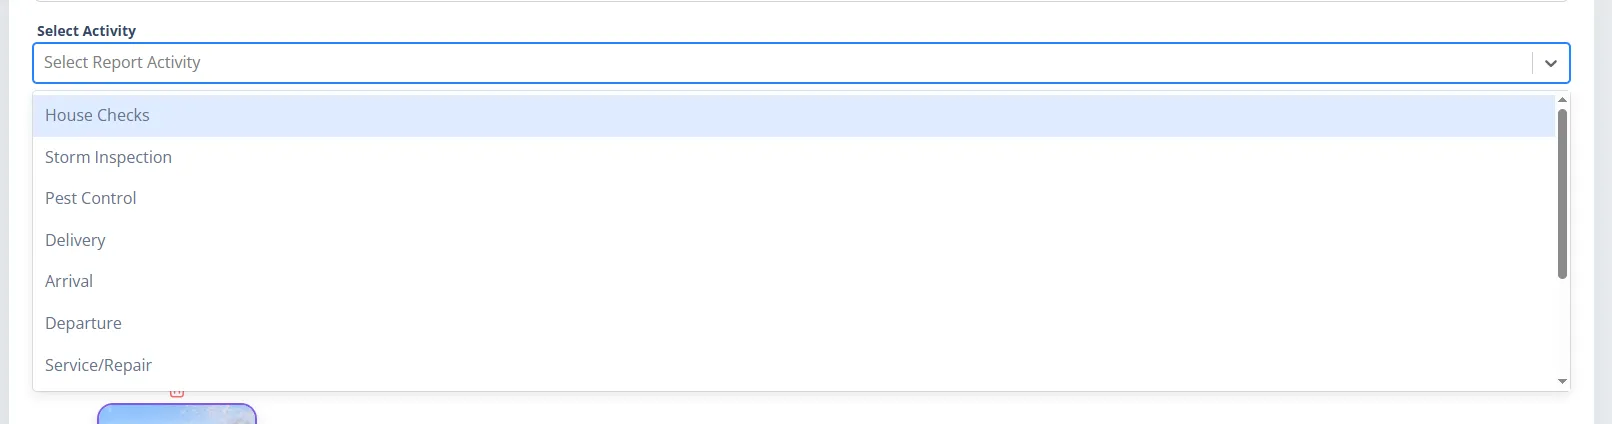
1. Choose or Create an Activity (required)
Section titled “1. Choose or Create an Activity (required)”Select a predefined activity or create a new one by following the Report Activities Guide.
2. Set the Admin Report Time
Section titled “2. Set the Admin Report Time”Use the time picker to enter how long the administrative tasks took (in hours and minutes).
Enter at least 15 minutes to proceed.
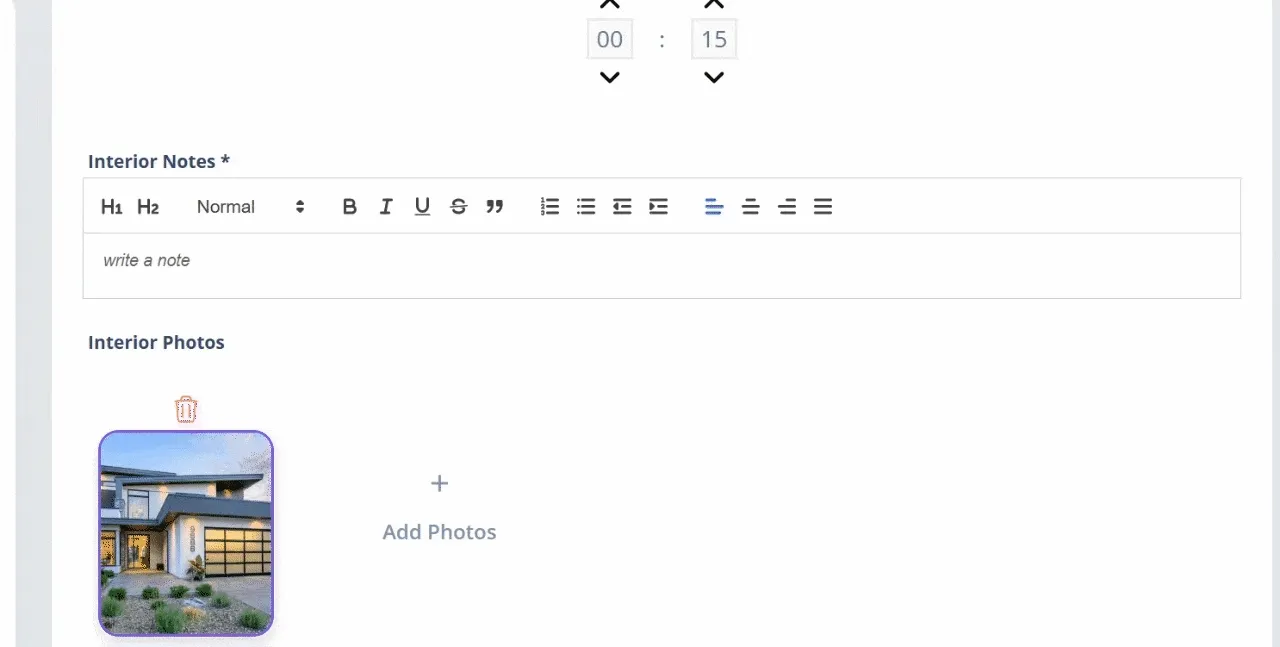
3. Add Interior Notes and Photos
Section titled “3. Add Interior Notes and Photos”Document the interior condition:
- Write detailed notes using the rich text editor.
- Upload supporting interior photos (JPEG, PNG, JPG up to 5MB each).
- Optionally, add a note for each photo to provide more specific context.
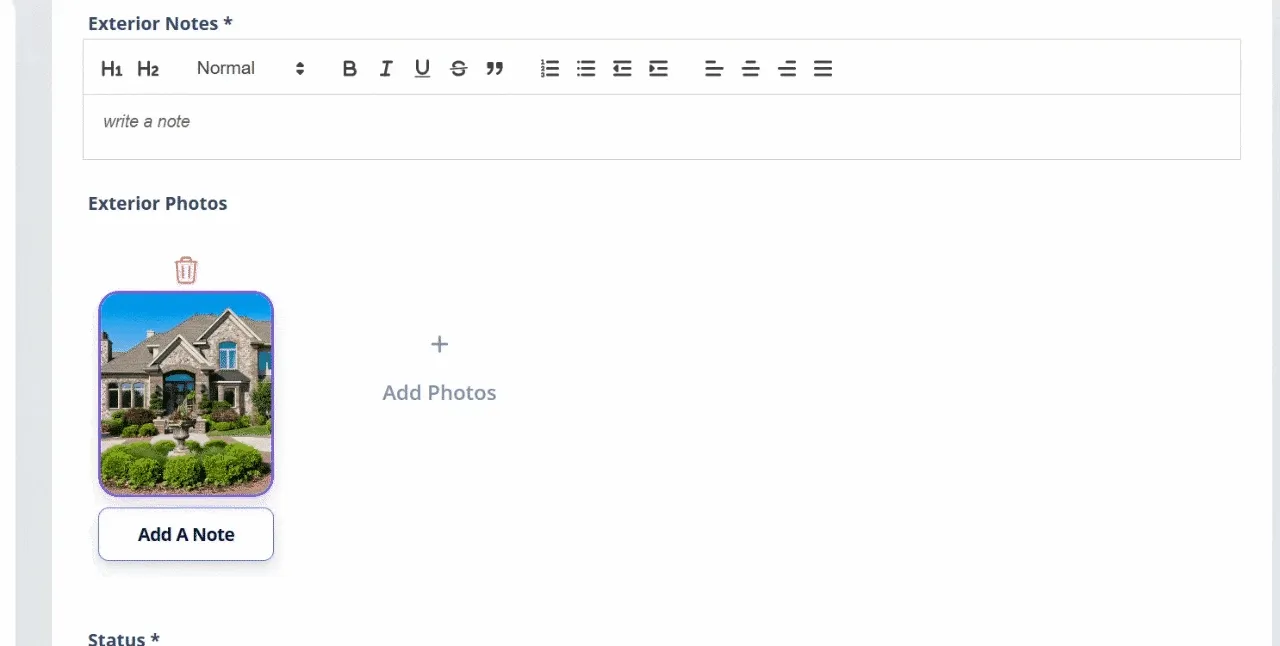
4. Add Exterior Notes and Photos
Section titled “4. Add Exterior Notes and Photos”Repeat the same process for exterior observations and documentation.
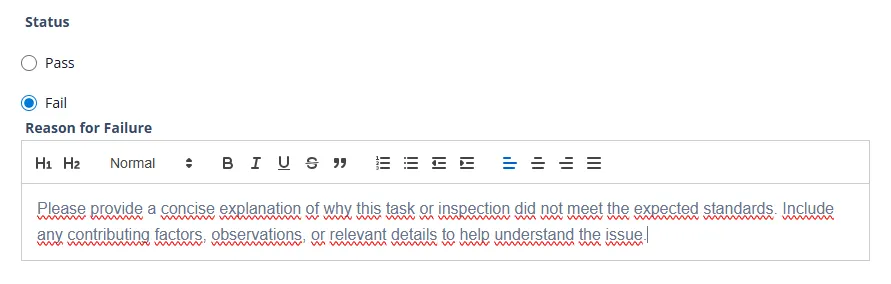
5. Set the Report Status (Pass or Fail)
Section titled “5. Set the Report Status (Pass or Fail)”- If Pass, no extra notes required.
- If Fail, provide explanation, action items, and correction timeline.
6. Save Draft or Send Report
Section titled “6. Save Draft or Send Report”- Use Save Draft if incomplete or pending review.
- Click Send Report to finalize and trigger notifications.
Report Structure
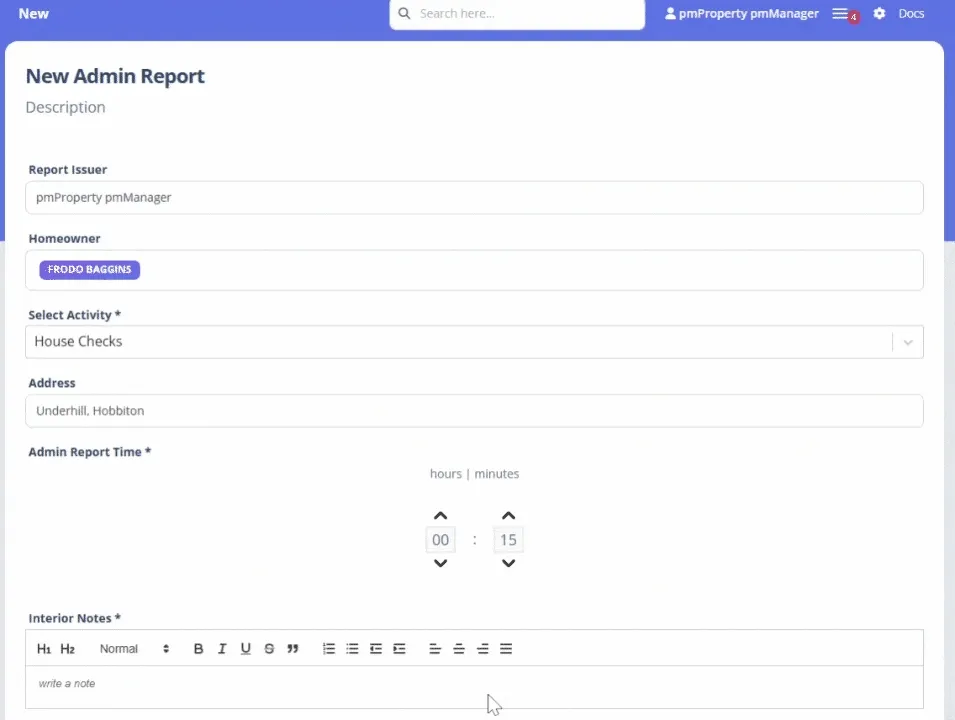
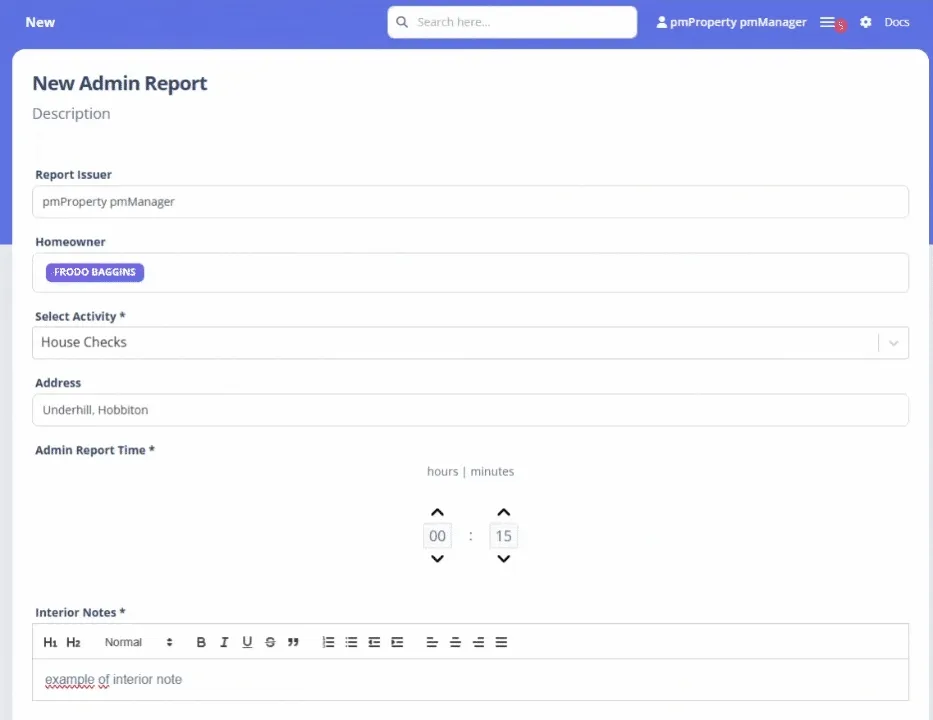
Section titled “Report Structure”Report Issuer
Section titled “Report Issuer”The system automatically assigns the currently logged-in user as the report issuer. This ensures proper tracking and accountability for each report.
Homeowner(s)
Section titled “Homeowner(s)”Automatically populated list of all registered homeowners linked to the selected property.
All listed homeowners will receive the report upon submission.
Activity Selection
Section titled “Activity Selection”Displays a required searchable dropdown of all predefined activities.
If you want to create or modify an existing option, related instructions are available in the Report Activities guide.
Admin Report Time
Section titled “Admin Report Time”This field specifies the duration of the administrative report in hours and minutes.
- Use the up/down arrows to set the time.
- Format:
HH:MM(hours:minutes). - Minimum required: at least 15 minutes.
Property Address
Section titled “Property Address”Read-only field populated by the system based on the selected property.
Ensures consistency and prevents manual entry errors.
Interior Notes
Section titled “Interior Notes”- Rich Text Editor: Full formatting capabilities including bold, italic, underline, and lists.
- Unlimited Text: No character limit for detailed descriptions.
Interior Photos
Section titled “Interior Photos”- Multiple Upload Support: Add multiple photos to document interior conditions.
- Supported Formats: JPEG, PNG, JPG.
- Recommended Size: Maximum 5MB per image for optimal performance.
- Organization: Photos are automatically organized by upload date.
- Note Support: Optionally, you can add a note to each image to provide additional context.
Exterior Notes
Section titled “Exterior Notes”- Rich Text Editor: Same formatting capabilities as interior notes.
- Detailed Documentation: Record all exterior observations and work completed.
Exterior Photos
Section titled “Exterior Photos”- Multiple Upload Support: Add multiple photos to document exterior conditions.
- Supported Formats: JPEG, PNG, JPG.
- Recommended Size: Maximum 5MB per image for optimal performance.
- Organization: Photos are automatically organized by upload date.
- Note Support: Optionally, you can add a note to each image to provide additional context.
Report Status
Section titled “Report Status”Pass Status
Section titled “Pass Status”- Select “Pass” when the property meets all standards.
- No additional notes required for passing inspections.
- Indicates satisfactory property condition.
Fail Status
Section titled “Fail Status”- Select “Fail” when issues are identified.
- Mandatory Additional Notes: Must provide detailed explanation of failures.
- Action Items: Include specific steps needed to address issues.
- Timeline: Specify when corrections should be completed.
Saving and Submission Options
Section titled “Saving and Submission Options”Save Draft
Section titled “Save Draft”Network-Adaptive Functionality:
- Poor Network Connection: Automatically saves draft locally on device.
- Good Network Connection: Saves draft to server database.
- Purpose: Allows you to modify and complete the report later.
- Data Persistence: Draft is preserved until you’re ready to submit.
When to Use Save Draft:
- Report is incomplete.
- Need to gather additional information.
- Network connectivity issues.
- Requires supervisor review before submission.
Auto-Save Feature
Section titled “Auto-Save Feature”The system automatically creates periodic backup copies of your work:
- Continuous Backup: Small copies saved as you work.
- Session Recovery: Return to your work if you exit unexpectedly.
- No Data Loss: Your progress is protected even without manual saving.
Send Report
Section titled “Send Report”Final Submission Process:
-
Email Distribution: Automatically sends report to all registered homeowners.
-
Database Storage: Complete report data is permanently stored in the system.
-
Notification Trigger: Activates property manager notifications based on subscription settings. For more details about notification subscriptions, see the subscriptions settings .
-
Audit Trail: Creates permanent record for compliance and tracking.
Best Practices
Section titled “Best Practices”Photography Guidelines
Section titled “Photography Guidelines”- Lighting: Take photos in good lighting conditions when possible.
- Coverage: Document all areas mentioned in your notes.
- Quality: Ensure photos are clear and properly focused.
- Context: Include wide shots for context and close-ups for details.
Note-Taking Standards
Section titled “Note-Taking Standards”- Be Specific: Include exact locations and detailed descriptions.
- Use Professional Language: Maintain professional tone throughout.
- Include Measurements: Provide dimensions when relevant for repairs or replacements.
- Timeline Information: Note when issues were discovered or work was completed.
Status Assessment Guidelines
Section titled “Status Assessment Guidelines”- Pass Criteria: Property meets all required standards with no immediate concerns.
- Fail Criteria: Any issue that requires attention, repair, or follow-up action.
- Documentation Requirements: Always provide comprehensive notes for failed items.