New Property Creation
This article shows you how to create a property in the LuxEstMgt web portal. Properties are a foundational concept in LuxEstMgt. Nearly everything begins with a property, which represents a physical address where work occurs. Only Property Managers can create properties.
Open the Add Property Form
Section titled “Open the Add Property Form”You can create a property from two locations in the portal:
- On the Dashboard, click Add Property in the bottom-right of the Properties card.
- On the Properties page (accessed via the sidebar), click Add Property button in the bottom-right of the Properties card.
Both options take you to the Add Property form.
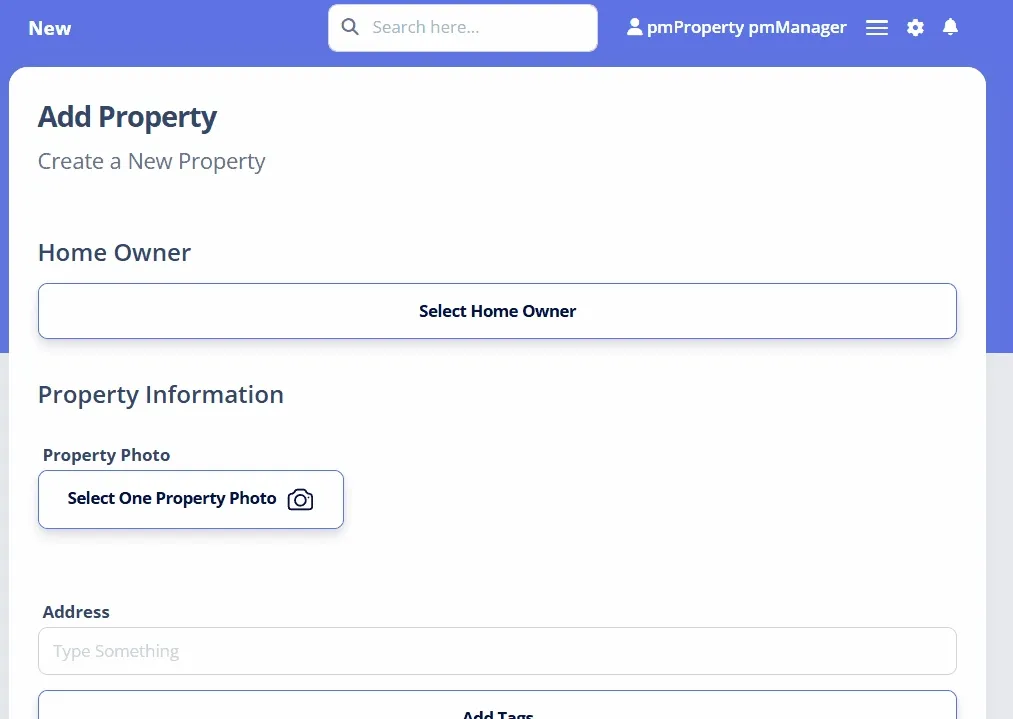
Select or Create a Homeowner
Section titled “Select or Create a Homeowner”Each property must be associated with at least one homeowner.
- Click Select Homeowner at the top of the form.
- In the modal that appears, either:
- Select one or more existing homeowners by checking the box next to their name.
- Or click Create Homeowner (bottom-left of the modal) to add a new one.
Creating a New Homeowner
Section titled “Creating a New Homeowner”In the New Homeowner modal, fill out the required fields:
- First Name
- Last Name
- Contact Email
- Contact Mobile
Click Save to create the homeowner. This will automatically close the modal and add them to the form.
Selecting Multiple Homeowners
Section titled “Selecting Multiple Homeowners”You can associate multiple homeowners with one property in the Select Homeowner modal. This modal display a list of all the homeowners in the system. There is a search box at the top which can help you filter the shown list. Once you are satisfied with your selection, click Confirm and they will be added to the property form.
Upload Property Photo (Optional)
Section titled “Upload Property Photo (Optional)”Click Select One Property Photo to upload an image of the property. If skipped, a default stock image will be used.
Select Primary Homeowner
Section titled “Select Primary Homeowner”Choose the primary homeowner from the dropdown. This person:
- Appears in correspondence with vendors and staff.
- Is shown as the main contact on the property dashboard and in various lists.
By default, the first added homeowner is selected.
Emails sent to homeowners, such as reports, respect the subscriptions set by those homeowners.
Address Details
Section titled “Address Details”Fill in the required address fields:
- Street Address
- City
- State
- Postal Code
Optionally, you can add the Square Footage (labeled “Sqft” on the form) to record the size of the dwelling.
Property Tags
Section titled “Property Tags”Property tags are an easy way to group properties together or flag them for special considerations. They are arbitrary labels complete with descriptions and colors that are configured for your tenant.
To add tags:
- Click Add Tags.
- In the modal, check the tags you want to apply.
- Click Confirm to add them.
Selected tags appear under the button with an “X” for easy removal.
Add Property Notes (Optional)
Section titled “Add Property Notes (Optional)”To add notes:
- Click Add New Note.
- Fill in the Note Title and Note Content fields.
You can add multiple notes. Click Remove next to any note to delete it.
Review & Save
Section titled “Review & Save”Double-check the form for accuracy. Once all required fields are complete, click Save to create the property.